


Users often ask us how to make their WordPress foreign trade websites quickly included by Google? As the world’s largest search engine, Google is very good at automatically detecting and listing new websites. However, generally, it’s going to not mechanically list your web site immediately. Since Google is the largest source of traffic for most websites, this need is very necessary. In this article, we will share the experience of how WordPress foreign trade websites are quickly included by Google.
Why should your site be included on Google quickly?
Google is the main source of traffic and visitors to most websites. If you have seriously considered your WordPress foreign trade website, then you need to let Google include your website as soon as possible. If you follow WordPress SEO best practices, then search engines such as Google can automatically find your website. However, this may take some time and you will miss potential customers. But you can speed up this process easily. Let’s take a look at how to quickly include your WordPress foreign trade website on Google. Let Google quickly include your WordPress foreign trade website Before you begin, you need to create a Google Webmaster Tools account (also known as the search console).
Step 1: Check WordPress settings for programmed visibility
After setting up a Webmaster Tools account, you need to ensure that search engines can see your WordPress site. You can view this content by going to Settings »Reading page and scrolling down to search engine visibility options.
Search engine visibility
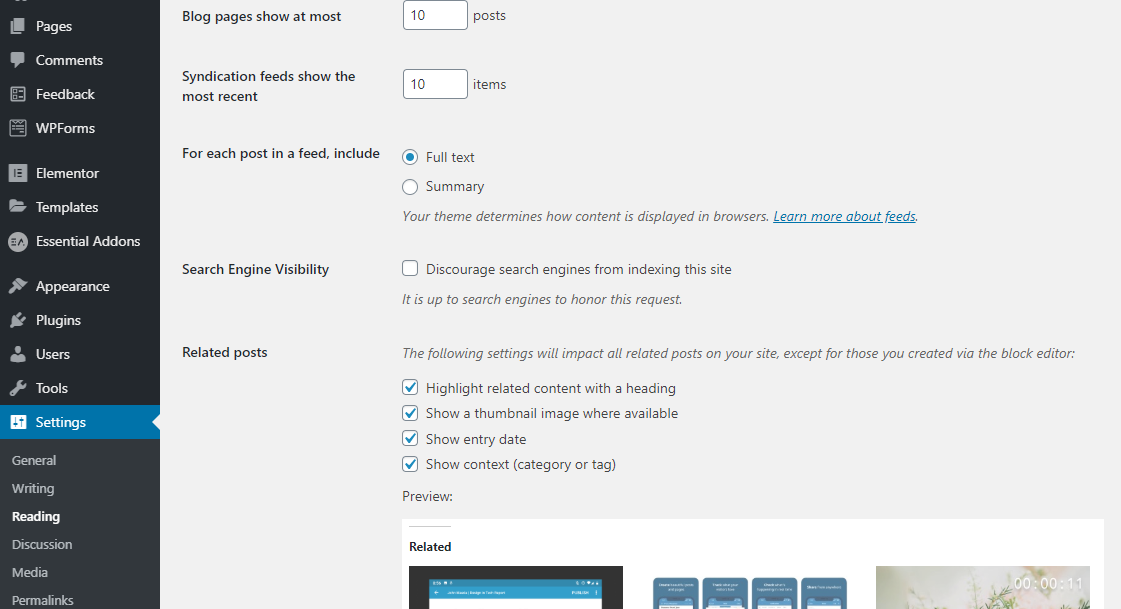
Be sure to remove the checkmark from this option so that search engines can crawl your site. Remember to click the “Save Changes” button to save your settings.
Step 2: Install Yoast SEO plugin
The next factor you would like to try to install and activate the Yoast SEO plugin. After activation, you will see a new item labeled SEO in the WordPress admin menu. Go ahead and click on it to view the plugin’s Settings page.
Yoast SEO menu
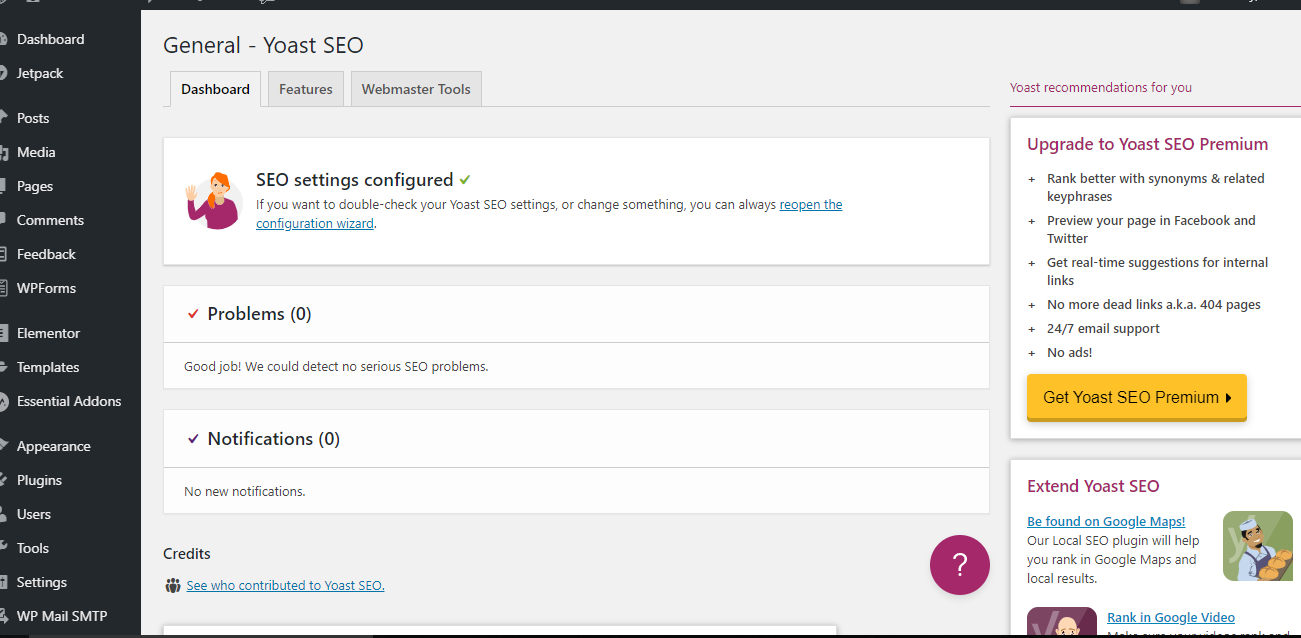
On the settings page, you may see the Webmaster Tools tab. We will use it to associate the Google search console with your WordPress website.
Step 3: Connect Google Search Console with WordPress
Now that you simply have put in Yoast SEO, you would like to feature your web site to Google Search Console. Do this by clicking the “Add property” button in your Google Search Console account.
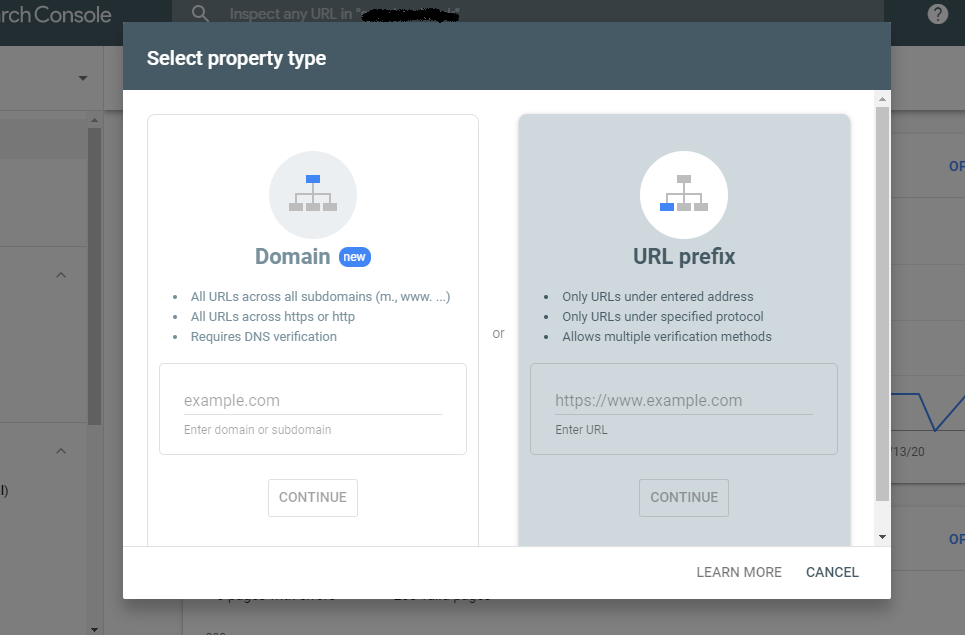
In the website field, you must add the complete website URL. It is very important to use the same URL you see in the URL bar of your browser (including WWW or non-www and HTTPS).
Add a website on the Google search console
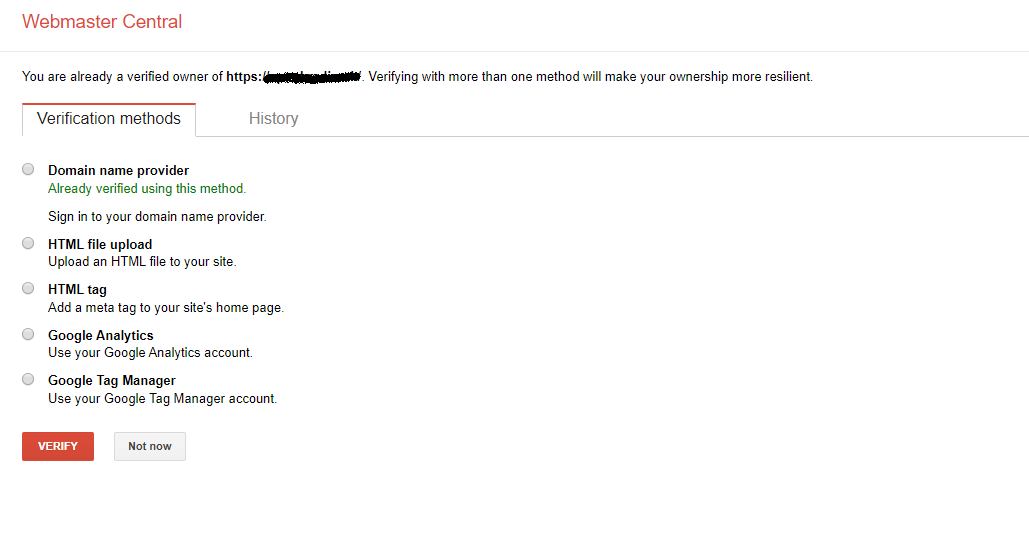
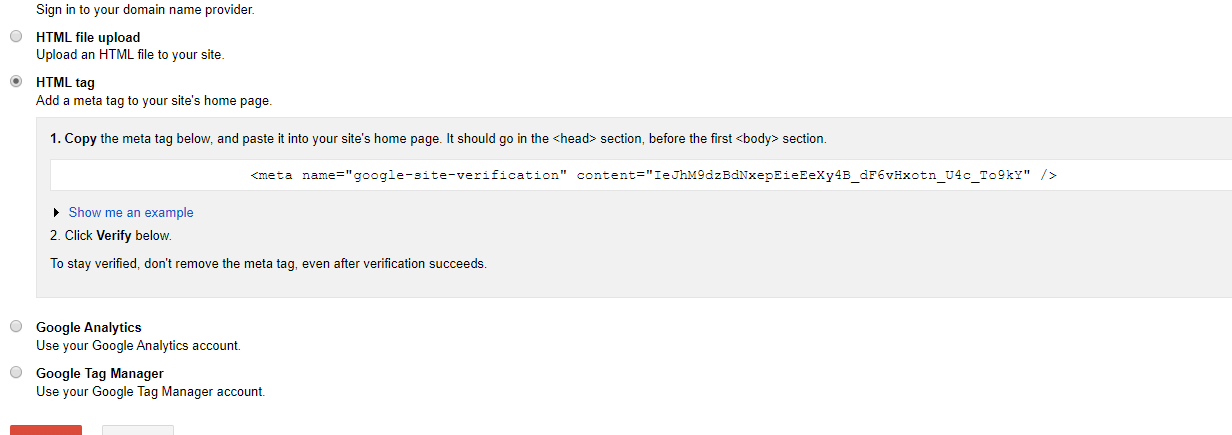
After adding the website URL, you will be taken to the verification page. You need to verify that you are the owner of this website. You can use multiple methods to verify ownership. The simplest method is listed under the Alternative Method tab called “HTML Markup”. It will provide you with the meta code you need to copy.
Webmaster Verification Code
Next, switch back to your WordPress management area and visit the SEO »General page. In the Webmaster Tools tab, you would like to stick the code into the Google verification code field.
Add Google verification code
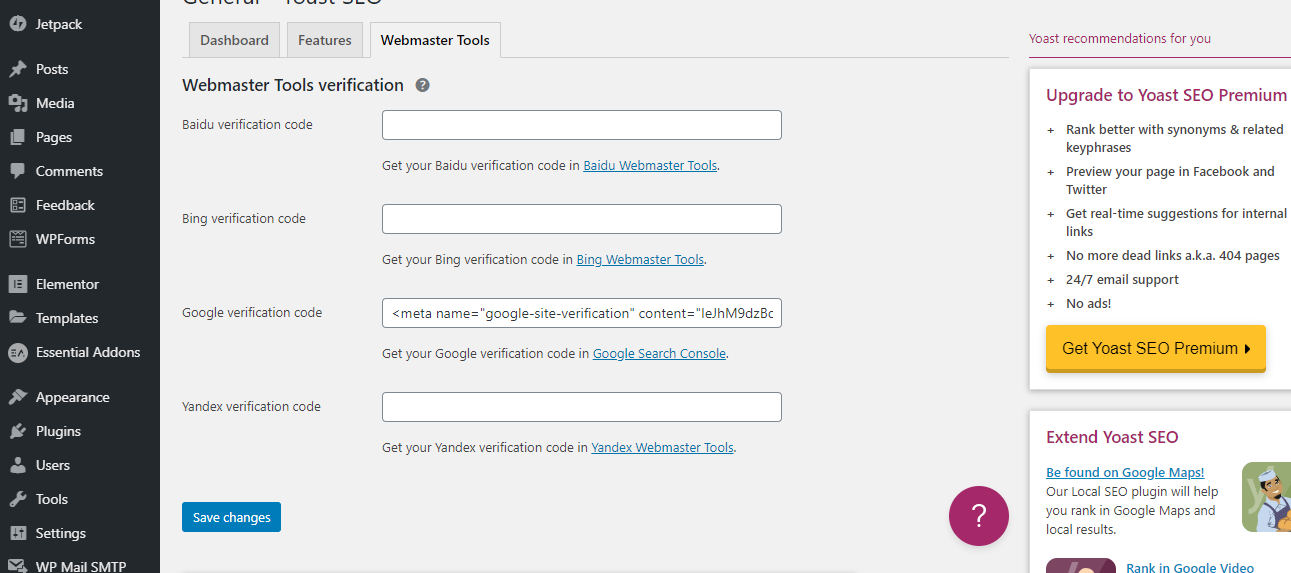
When finished, click the “Save Changes” button. Now return to the Google Search Console account and click on the “Verify” button. Your web site possession is successfully verified. If for some reason it cannot be verified, then you need to make sure to clear the cache in WordPress.
Step 4: Set up the XML site map
After verifying your website, you need to go to the SEO »General page of the WordPress management area and click on the Features tab. Next, you need to scroll down to the XML sitemaps option and open it.
XML sitemap options
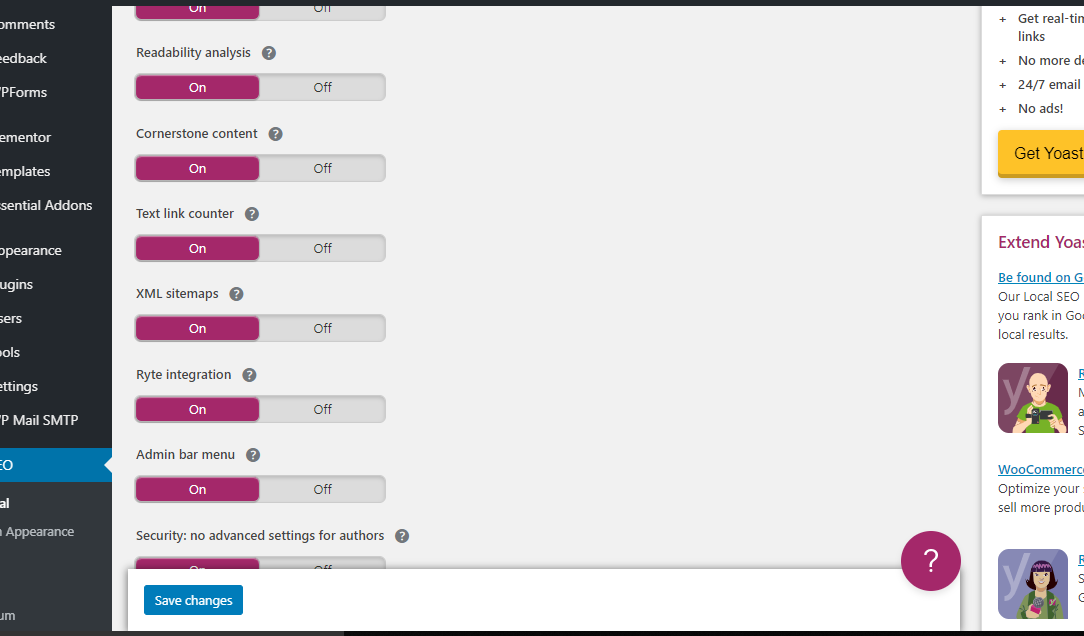
After that, click the “Save Changes” button to properly set up the XML sitemap in WordPress.
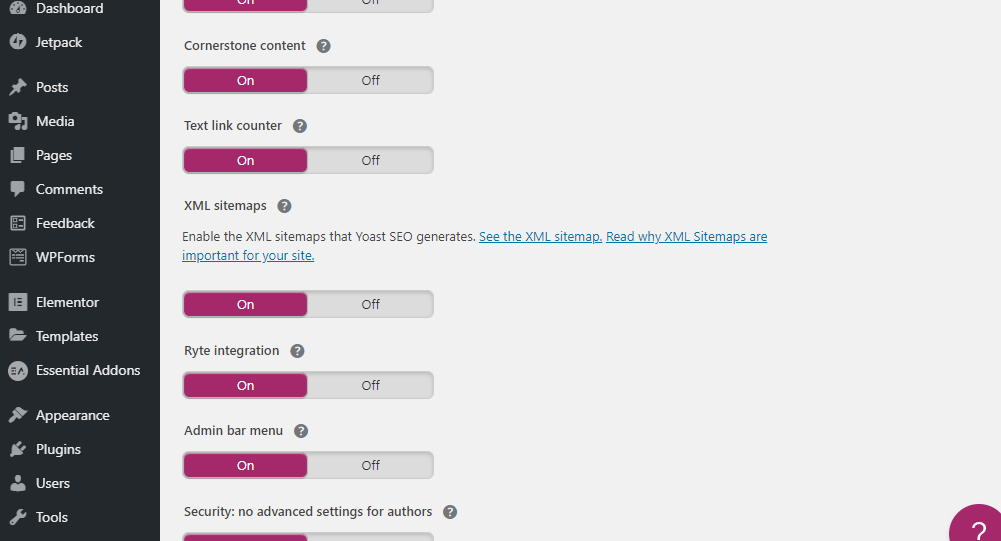
To view the site map, you can click the question mark icon next to the title of the XML site map. It will display links you can follow to view all XML sitemaps.
View XML sitemap
Next, you need to submit the sitemap to Google Webmaster Tools. The site map helps Google search robots easily find and index new content.
Step 5: Submit the XML Site map to Google Search Console
Just log in to your Google Search Console account and choose your web site. You need to go to the grab »Site map on the left side of the screen.
Grab site map settings
Next, you need to click the “Add / Test Site Map” button on the screen and add the site map URL.
Submit Site map URL
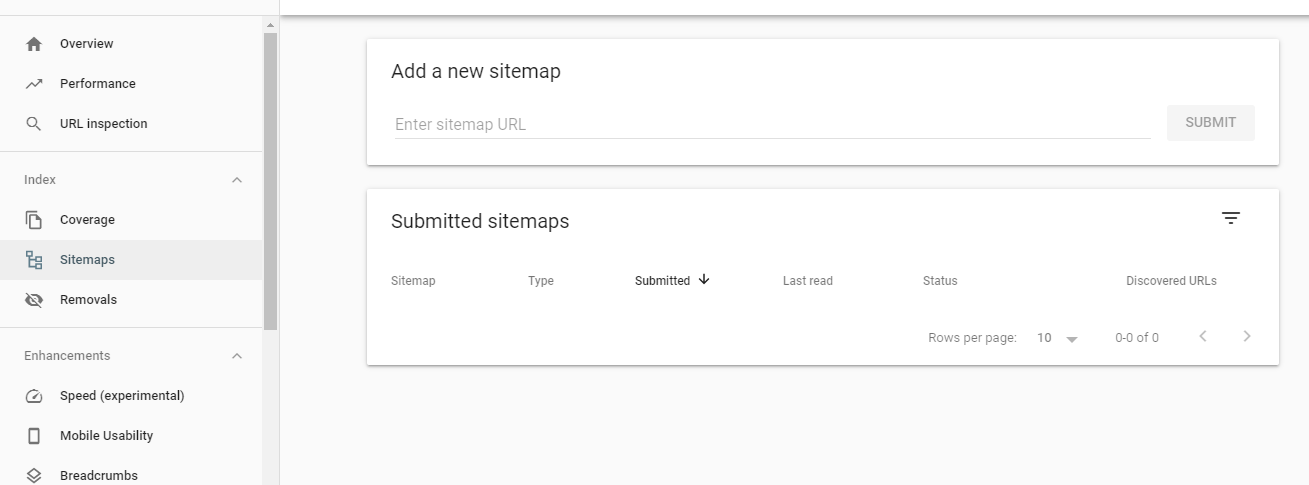
Your main sitemap file is sitemap_index.xml, which contains links to all other sitemaps on your site. You only need to submit this main sitemap link, and Google will automatically crawl all other sitemaps on your site.
After completing these steps, you can access your Google Search Console account to view business information. After Google crawls and indexes your website, you will start viewing reports in the search console. Another important factor that affects search ranking is website speed. Slower websites are detrimental to the user experience and are generally ranked lower than faster websites.


