

Let begin by shaping some key terms; SSL Certificates are small data files that digitally bind a cryptographic key to a website’s details. When mounted on a web server, it triggers the lock and the https procedure and allows secure networks from a web server to a browser. On the other hand SSL also known as Secure Sockets Layer is an encryption-based Internet security protocol. It helps to ensure privacy, authentication, and data integrity in Internet infrastructures. SSL offers a protected network between two technologies or devices functioning over the cyberspace or a core link.
One mutual example is when SSL is used to shelter a message between a gateway and a web information superhighway. This transforms a website’s discourse from HTTP to HTTPS, the ‘S’ standing for ‘secure’. Stereotypically, SSL is used to secure credit card dealings, data transfer and logins, and more recently is becoming the custom when securing browsing of social media sites.
How to generate and install SSL certificate using WordPress plugin?
Kindly follow the steps stated below to get started;
STEP 1:
Login to the WordPress Admin dashboard and navigate to install the plugin and select add new.
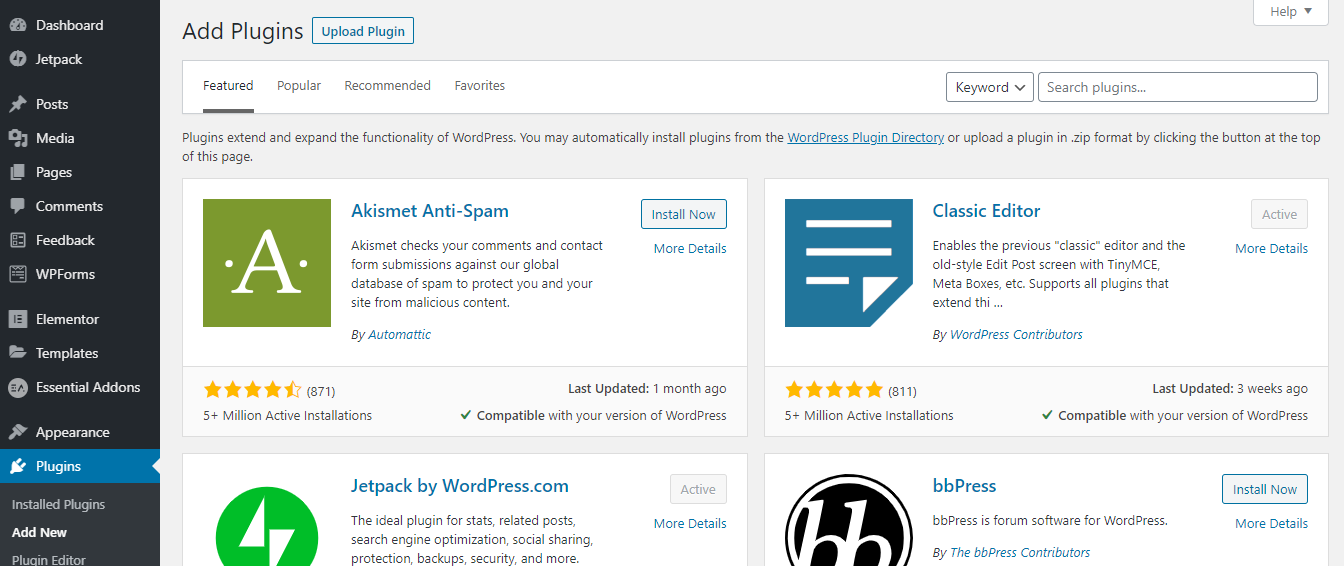
STEP 2:
Search for the plugin “WP Encryption – One Click SSL & Force HTTPS”. Install and active the plugin and navigate to the WP Encryption – One Click SSL & Force HTTPS Plugin
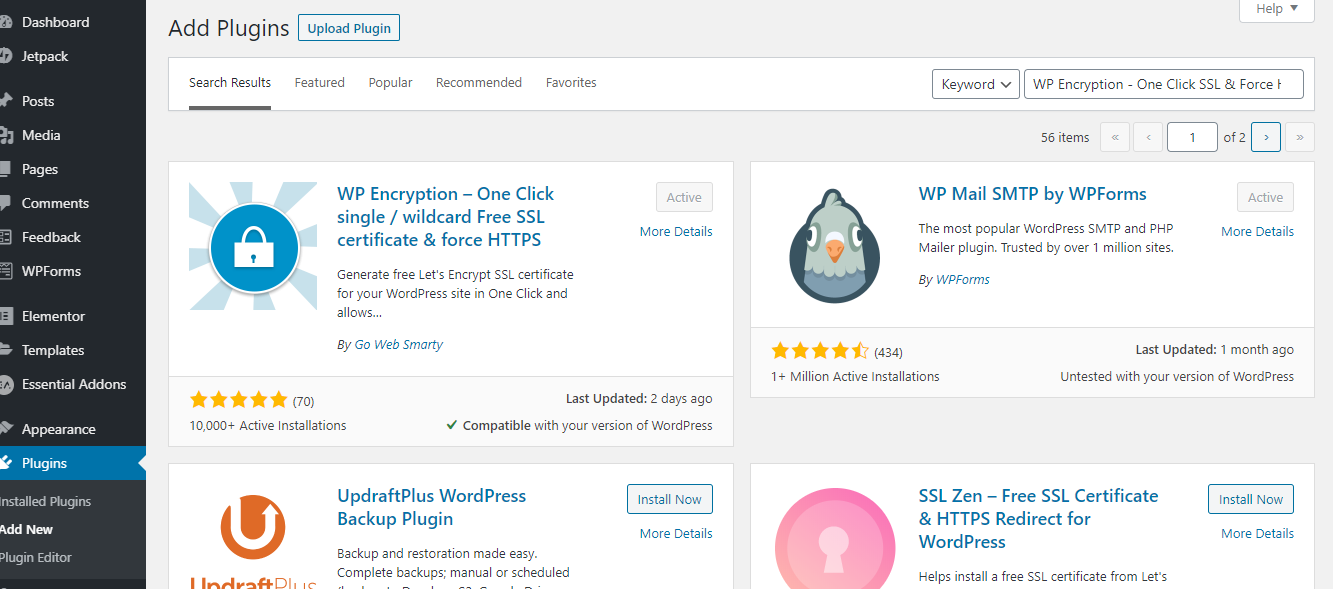
STEP 3:
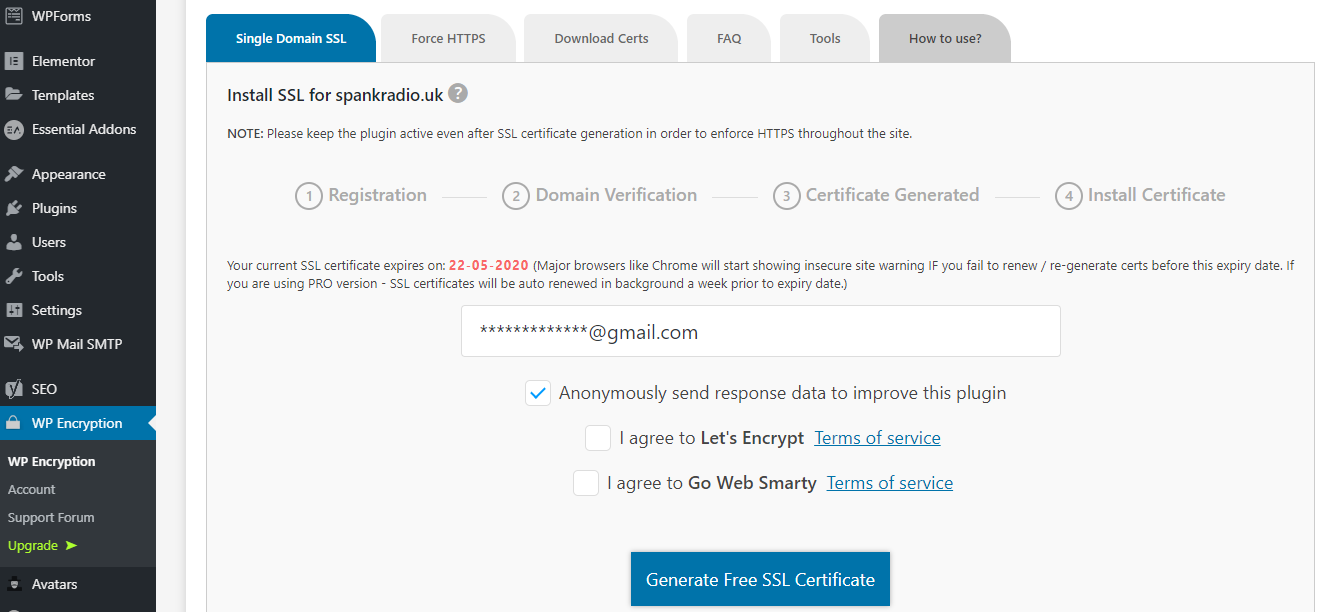
Once done open up WP Encryption – One Click SSL & Force HTTPS Plugin enter preferred email address and check few boxes to agree with the terms and conditions of the plugin and click on the “Generate Free SSL Certificate” button
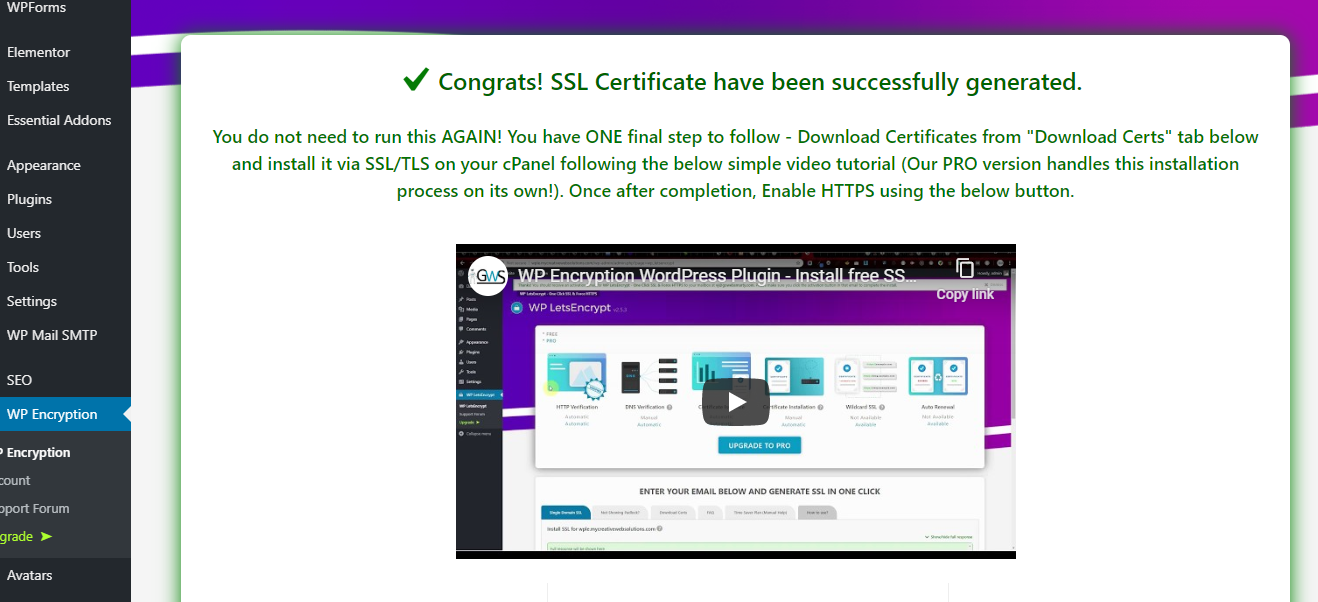
STEP 4:
Log in the email inbox open the mail of the generated SSL Certificate download the three set of files provided via the following buttons “Download Cert File”, “Download Key File”, “Download CA File”
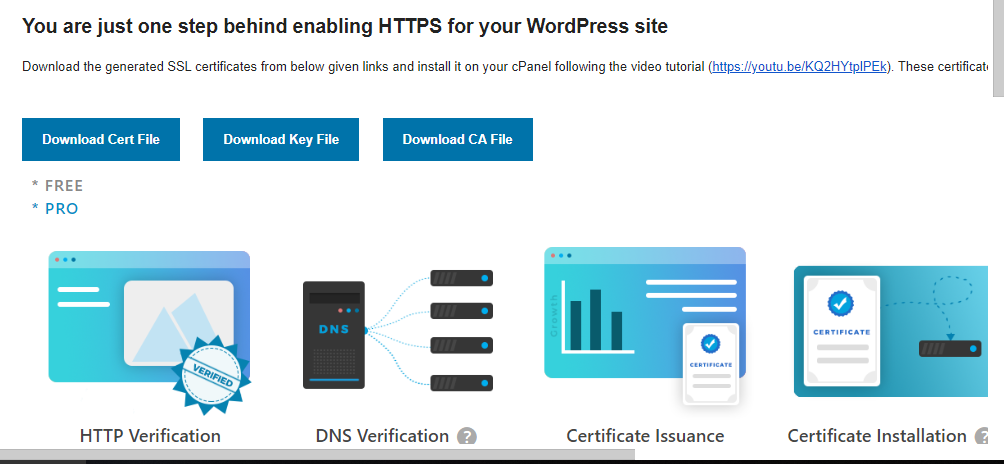
You might get a popup like this when you attempt to download the file Click on “Keep”

STEP 5:
After downloading the files go ahead and log in to the site host to upload the SSL Certificate, for instance, if you are also making use of Godaddy kindly follow me otherwise lookup for steps to installing SSL Certificate on your host on Google. Go Webhost and select Manage.
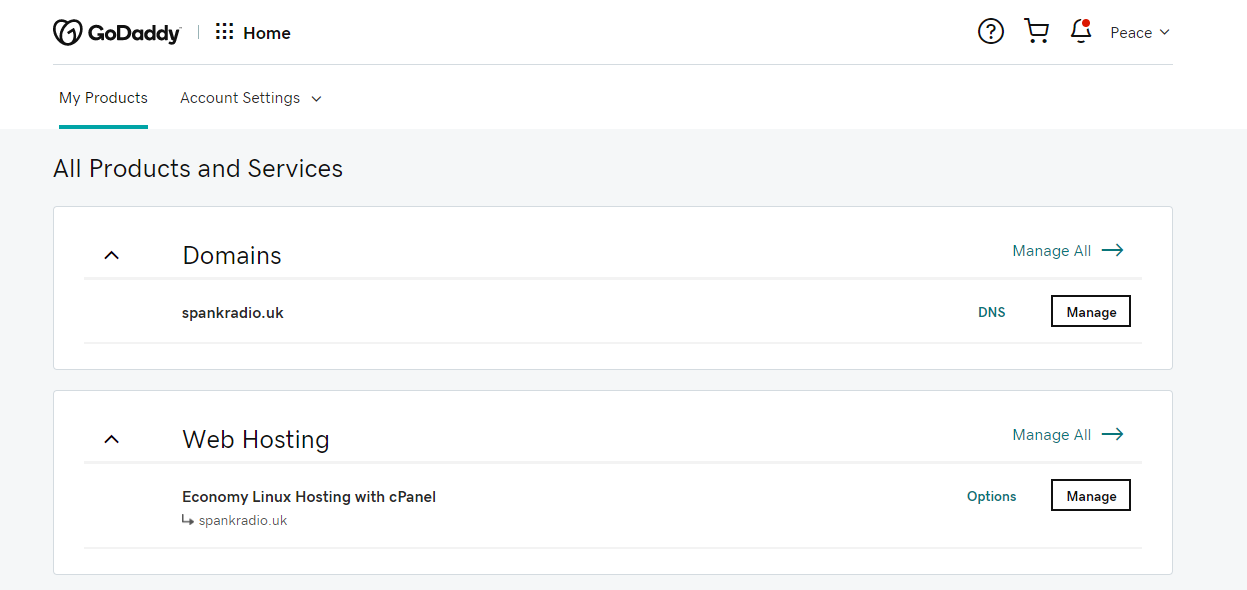
STEP 6:
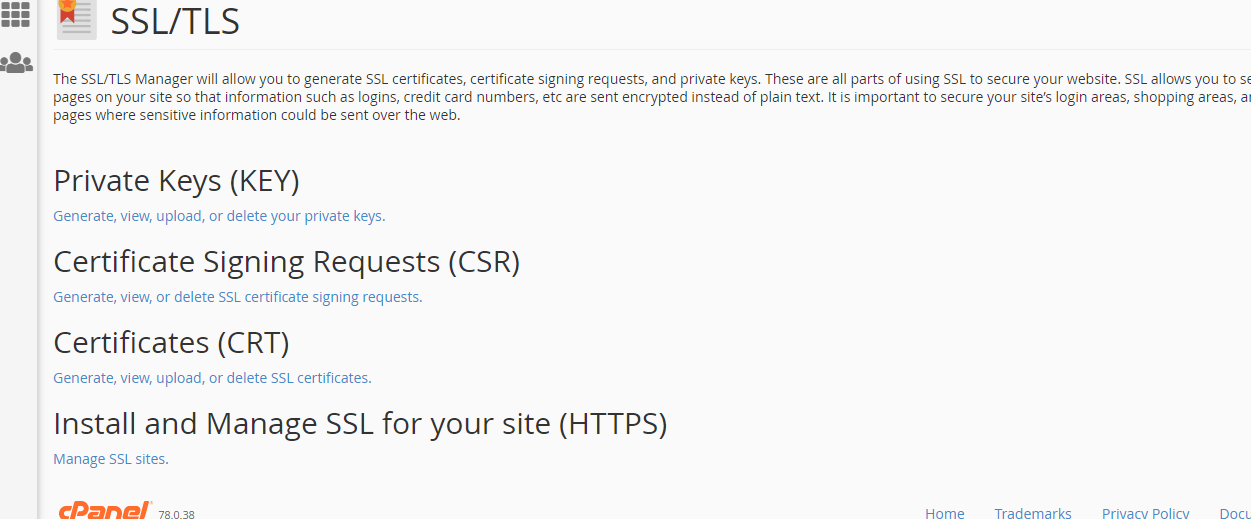
Move to your cpanel admin and select SSL/TLS
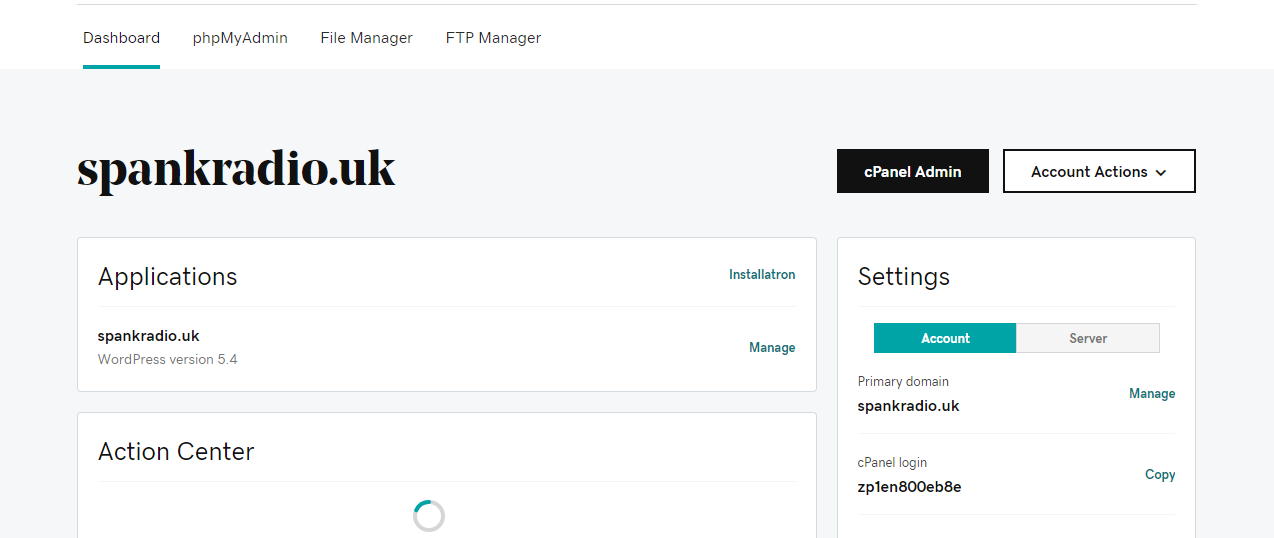
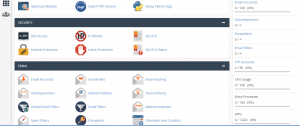
STEP 7:
Snap-on “Generate, View, or delete SSL certificate signing request” underneath
Certificates (CRT)
For Godaddy host users Godaddy has a post on the details on how to upload the SSL Certificate you have download. Visit manually install ssl in godaddy host
After successfully uploading the SSL Go back to the website dashboard and head to “WP Encryption – One Click SSL & Force HTTPS” Plugin and Select the fore HTTPS and save
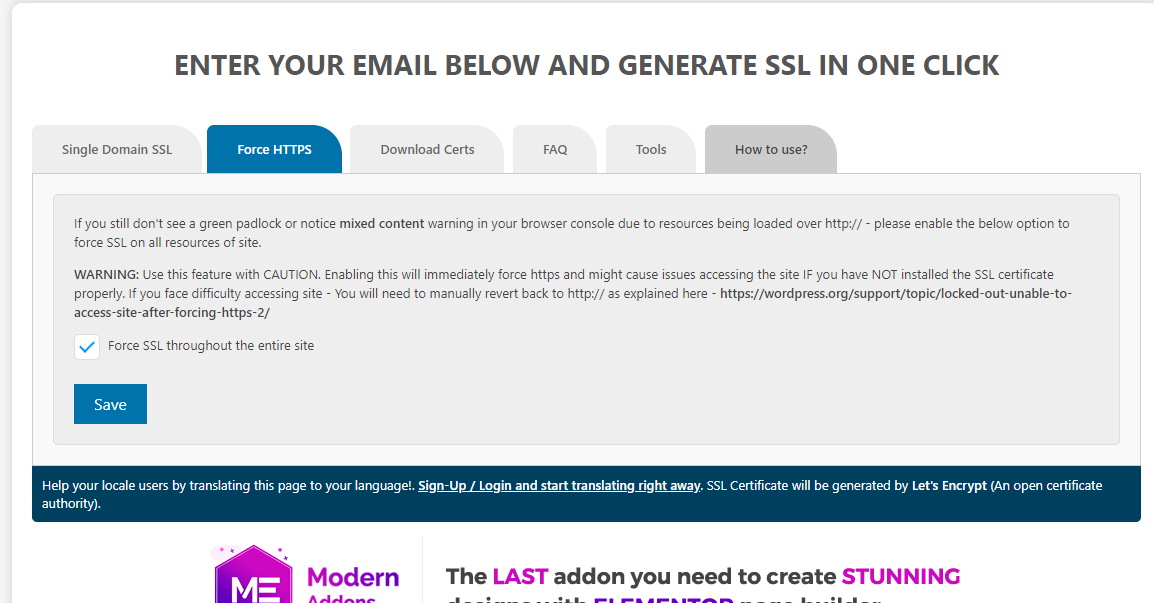
After saving refresh the website for the SSL to start working and HTTPS protocol will now function on the WordPress website.
Below are few functions of SSL Certificate on a website;
- SSL Certificates bind together a domain name, server name/hostname.
- Keeps data secure between servers
- Increases your Google Rankings
- Builds/Enhances customer trust
- Improves conversion rates


2 Comments