

We all know that no software is perfect and so, we used to see some errors in the performance of the websites at times. Though the flexibility of adding various plugins and themes on to WordPress platform is a real plus point to the functionality of the CMS, sometimes the incompatibility or version issues of the add-ons might cause a kind of site loading issues.
There are many places online to seek help when you run into WordPress bugs or errors, but in order to get assistance, you’ll need to know what the actual problem is. As a result, it’s crucial to know how to perform some basic troubleshooting.
Whenever you face such website performance issues you may need to know the actual problem behind the error so that you could take some actions or troubleshoot it to correct the problem.
In order to troubleshoot the issue, you need to activate the error log by enabling the debug mode. Once you realized the root cause of the problem by reading the error code, it will be much easier to take further action. When you are equipped with the knowledge of activating the debug mode either by using a plugin or doing manually, things will be on track for you to find the error codes in such situations.
When Should You Set Up of Error Log?
Set up the error log whenever you face the following issue:
- Whenever a black screen is displayed upon loading the web page
- Anytime error codes such as 401, 404, 500, etc. appears
- If you found your website fully crashed
- If you notice the website loading is very slow
- Anytime you observe that the theme or plugin is not working in the right way
- Not sure of the theme or plugin that causes website performance issues.
How can You Set Up Error Log
In the WordPress website, you can set up an error log by enabling the debug mode in the following two methods:
- By manually entering the code
- Using an appropriate plugin
Let us first try the manual way of adding the code in config.php file to enable the debug mode
Step 1: Access and edit the wp-config.php file from the root folder
As you know, wp-config file is an important core file that connects the website files with the database using the login credentials. You can access it by using an FTP or C-panel and locate it in the root folder as seen below and keep a back up of it before doing any edit on it.
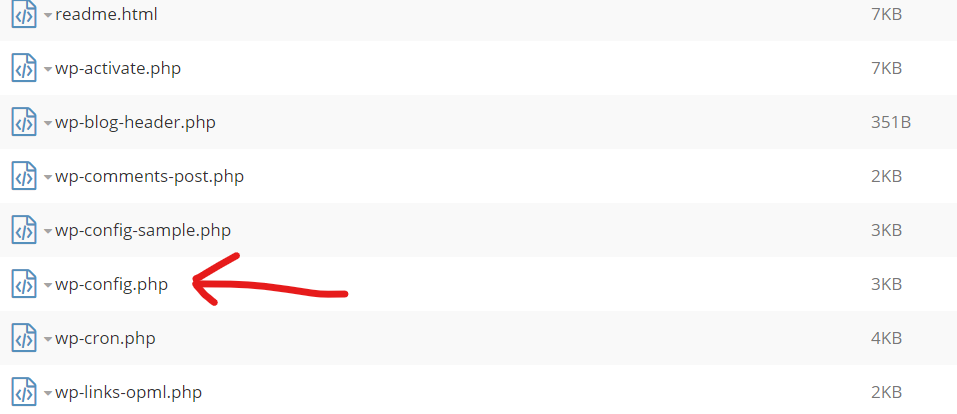
When you right-click on the file you will get options to edit it.
Step 2: Add a line of code in the wp-config.php file to enable debug mode
You can easily locate a line of text that says “stop editing”! Happy blog and place the following code just after the line.
define (’WP_DEBUG’, true);
In some cases, the code might already be existing in the config file but set to false. In such cases, you can switch the mode from false to true. Your website is now in the debug mode.
However, in this mode, the errors will be displayed in the front end and that will not be acceptable to anyone as its visibility will is public. In order to restrict the display only to admin we need to add the two lines of code below the debug code as seen:
// Enable debug logging to the /wp-content/debug.log file
define (’WP_DEBUG_LOG’, true);
// Disable the display of errors and warnings
define (’WP_DEBUG_DISPLAY’, false);
@ini_set (’display_errors’, 0);
Now, your error message will be safely stored in the log file. In cases where there is an error log already existing in the root folder, you just need to make sure to enable the debug mode by changing the ‘false’ to ‘true’.
If you think that you are not confident enough to work directly on the wp-config file, feel free to use the free ‘WordPress error log plugin’
WP Debugging Using WP debugging plugin
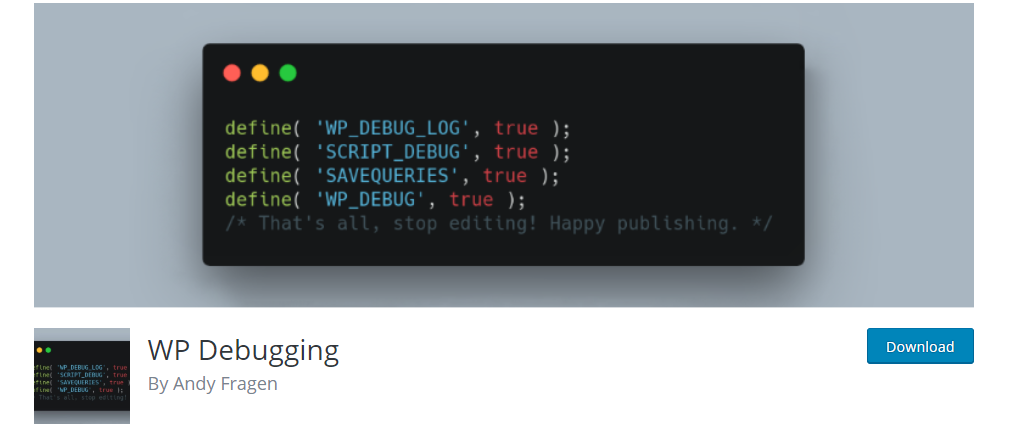
Install and activate the ‘WP Debugging plugin’ and immediately the site will be in debug mode. It has got options to control the display of errors by accessing Tools-> WP Debug.
Checking the WordPress error log
Use the FTP client/C-panel to reconnect to your website files and go to the /wp-content folder.
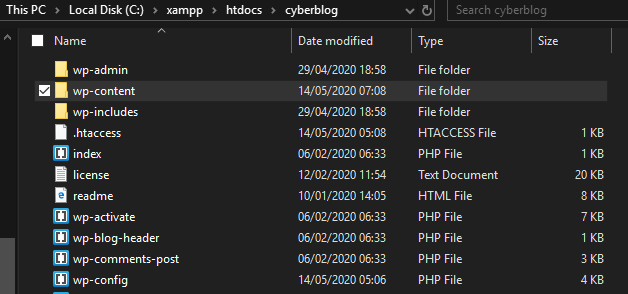
Locate the file named debug.log which is the error log file created according to the previous steps.
What should you do with the debug log file?
You can read the error code to understand the root cause of the problem that the website is experiencing and take further actions to rectify it.
Resolution steps you can follow after enabling the debug mode:
- Identify error code in the debug log.
- Search and understand the meaning of the error code.
- You can find guidelines or external help to fix the error.


1 Comment