

Let’s take a look at how to add web push notifications to a WordPress website.
Set up internet push notifications in WordPress using OneSignal
OneSignal is a free push notification service for WordPress sites. It permits users to effortlessly add push notifications to any website.
The first thing to do is install and activate the OneSignal plugin. After initiation, the plugin will add a new menu item branded OneSignal to the WordPress admin bar.
Click it to go to the settings page of the plugin.
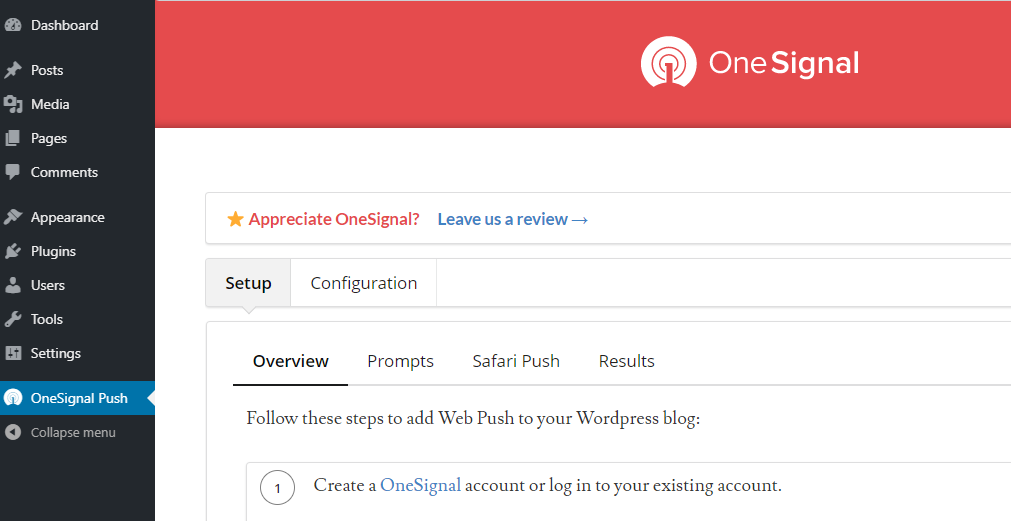
The settings page is categorized into “Settings” and “Configuration” tabs. The settings tab is, in fact, a detailed document on how to set up OneSignal push notifications in WordPress. It is the same as the steps in this article.
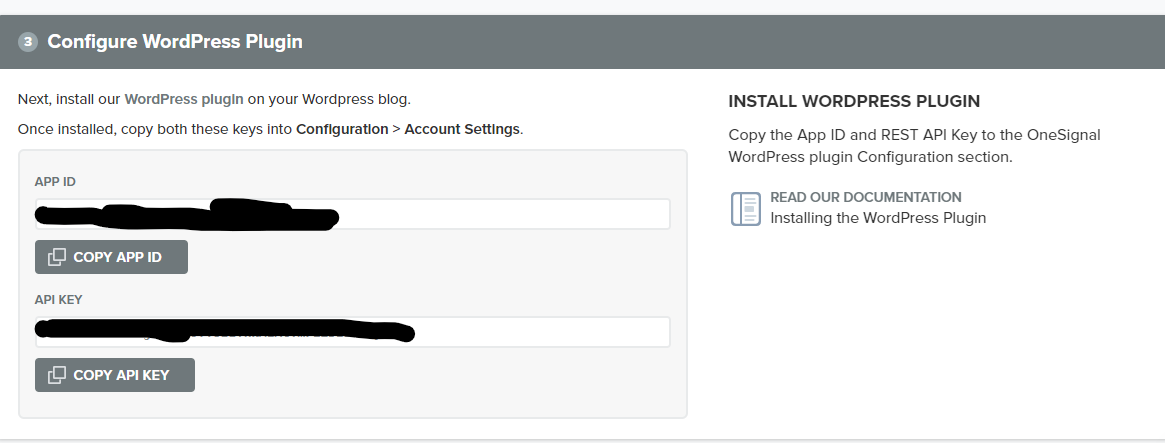
To set up OneSignal, you need to add the API key and APP ID in the plugin settings. let’s start.
Setting up OneSignal push notification
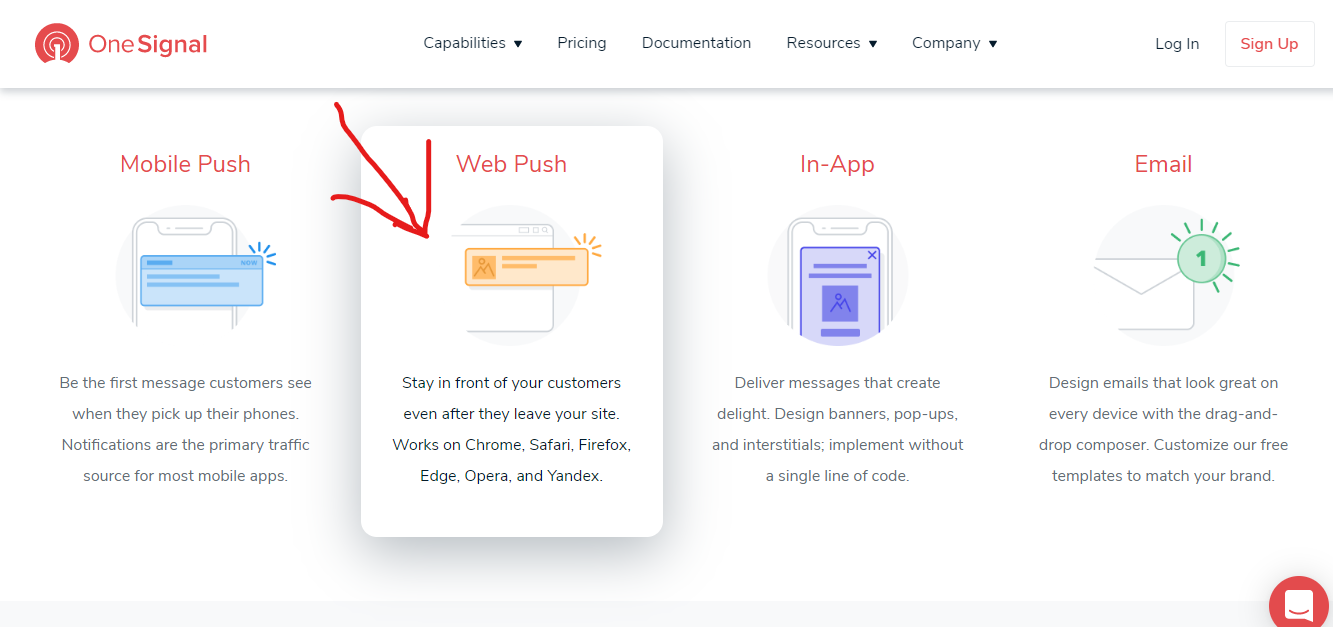
First, visit the OneSignal website, and then click the Web Push option.
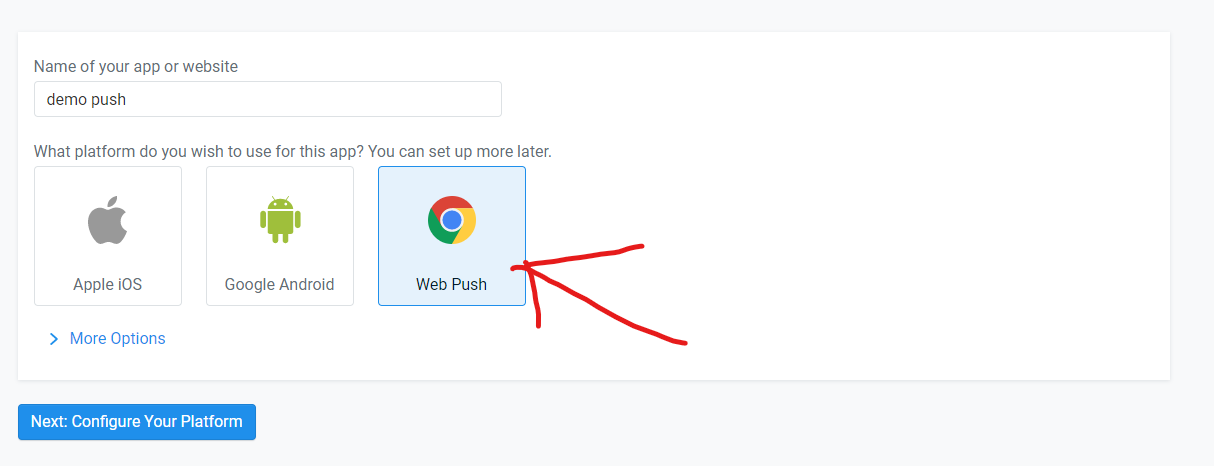
Provide email and password to create a free account. After creating an account, the user will be transferred to the OneSignal Information Center. Add Application to make your first application. Enter the name of the app. Next, choose a platform. Users can choose numerous platforms for the application. Let pick “Web Push” and click Next to proceed.
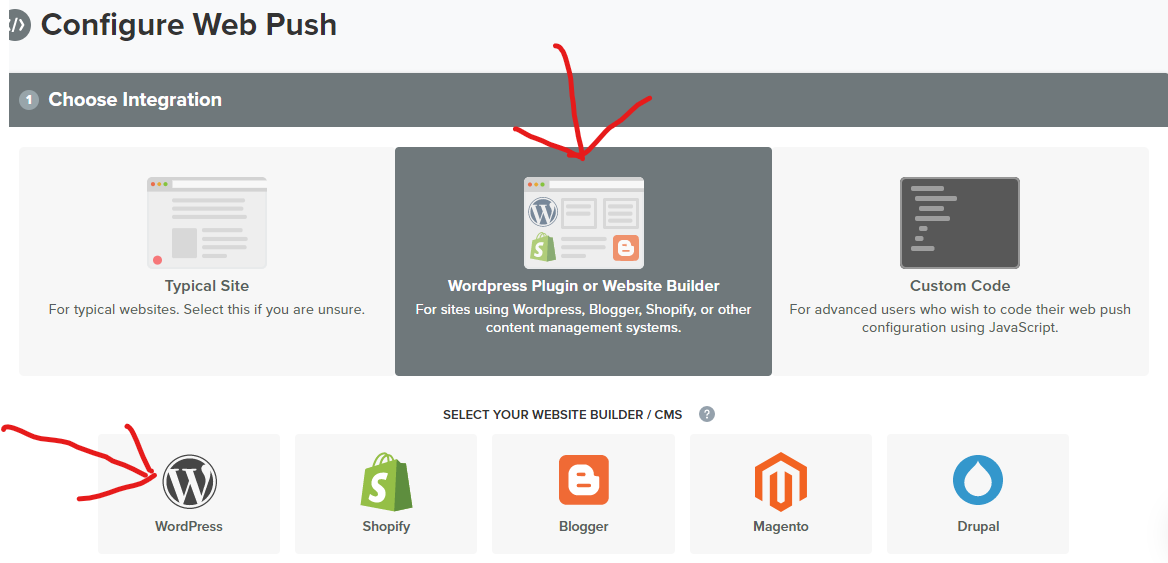
In the next step, choose an integration method. Advance and click the “WordPress plugin or website Builder” box and select WordPress.
Scroll down a bit and to see the “WordPress Site Settings” section. Enter your website name, URL, and upload the logo. This logo will appear in the notifications, so make use of the site icon (favicon) or website logo.
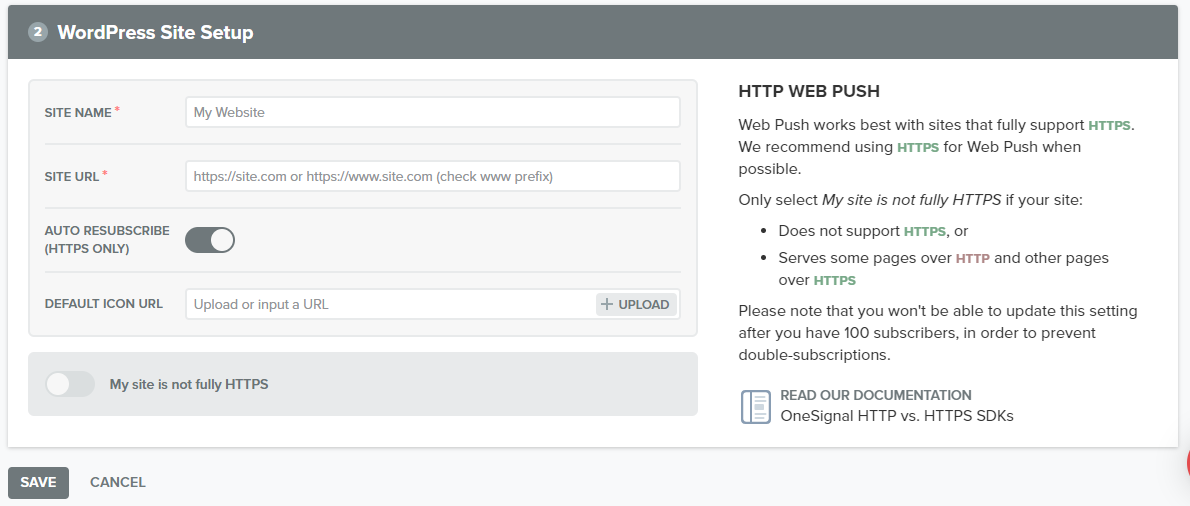
Below this, if the WordPress site does not use SSL / HTTPS, a switch that can be opened is displayed. Onesignal only sends web push notifications from a secure HTTPS URL. If your WordPress site does not use HTTPS, enable this setting “My site is not fully HTTPS” and enter a label.
Tags are basically subdomains hosted on OneSignal servers using secure HTTPS URLs. This subdomain will be used to send push notifications.
To set up HTTPS on WordPress site, please refer to the tutorial on “Generate and Install SSL Certificates Using WordPress Plugin”. When finished, click the “Save” button to store the OneSignal settings. The API key displayed needs to be copied.
Now switch back to the OneSignal plugin settings on the WordPress website and switch to the “Configuration” tab. And paste the previously copied APP ID and API key.
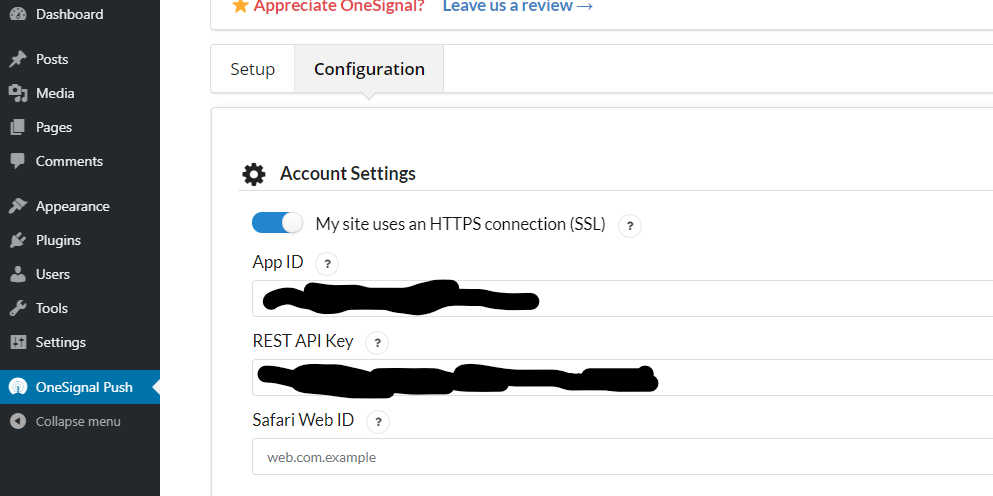
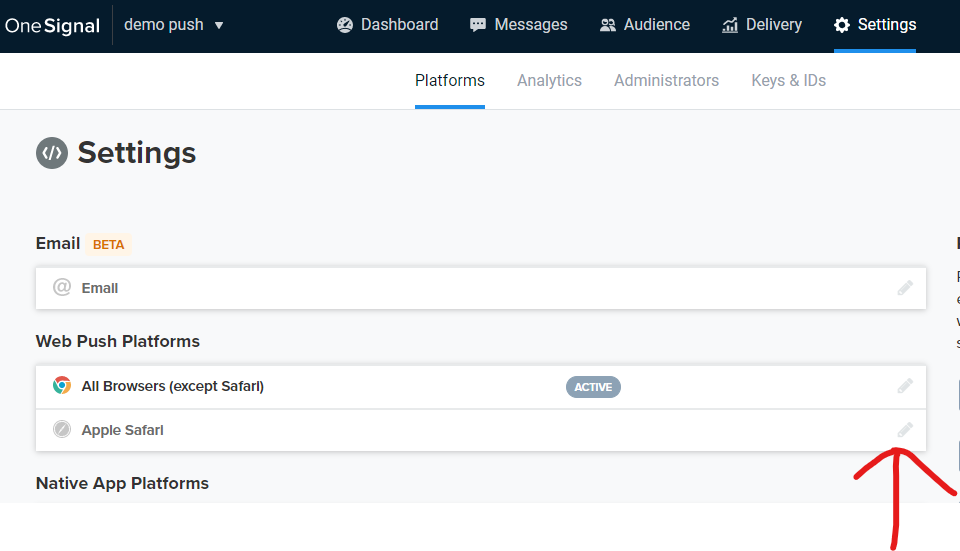
These API keys only allow the site to send push notifications through Chrome and Firefox web browsers. The Safari Web ID is needed to send push notifications through the Safari web browser.
To obtain the Safari API key, switch back to the OneSignal website and go to the application’s settings page. Then, click the edit icon next to Apple Safari.
Next, you will be asked to enter the website title and URL, choose to upload the website icon. Click the “Save” button to store your settings. After that, the Safari Web ID will appear. Copy and paste it just like the previous one. Don’t forget to click the “Save” button to store the plugin settings.
Now access your website in the new incognito browser tab. You will see a push notification pop-up window at the top and a ringtone notification icon in the lower right corner of the screen. The push notification pop-up window will also appear on the mobile browser.


